4K logo

Inverted Microscope for Weld Analysis and Documentation

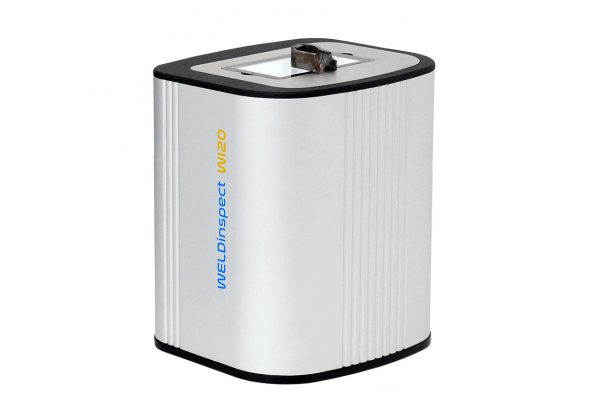
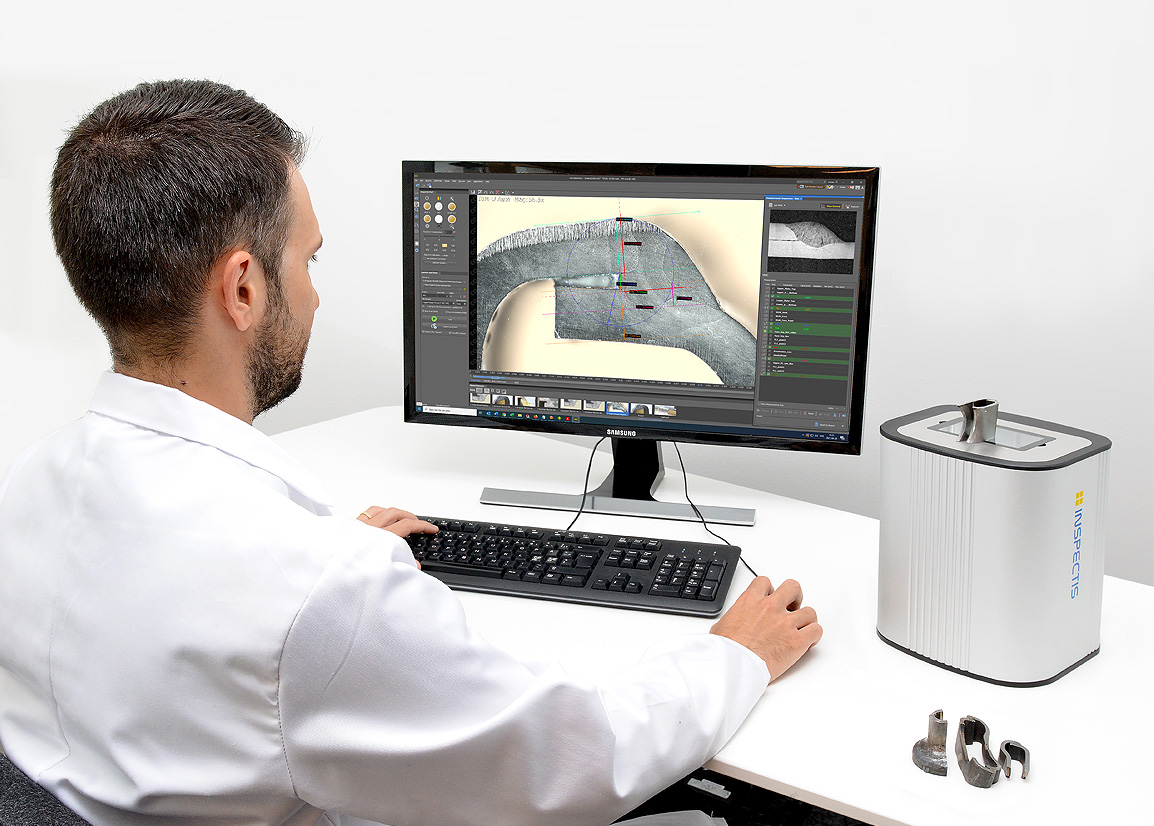
High-resolution, ergonomic inverted 4K optical system with x26:1 motorised zoom, and precise auto-focus designed for performing accurate weld bead analysis, measurement, and documentation with minimum efforts.

Developed for Ease-of-Use

Turn on the WELDinspect, start INSPECTIS© or NIS-Elements software and place the prepared sample on top of the device. The pre-calibrated inveted microscope ensures that the sample is imaged brightly for analysis and instant measurements.

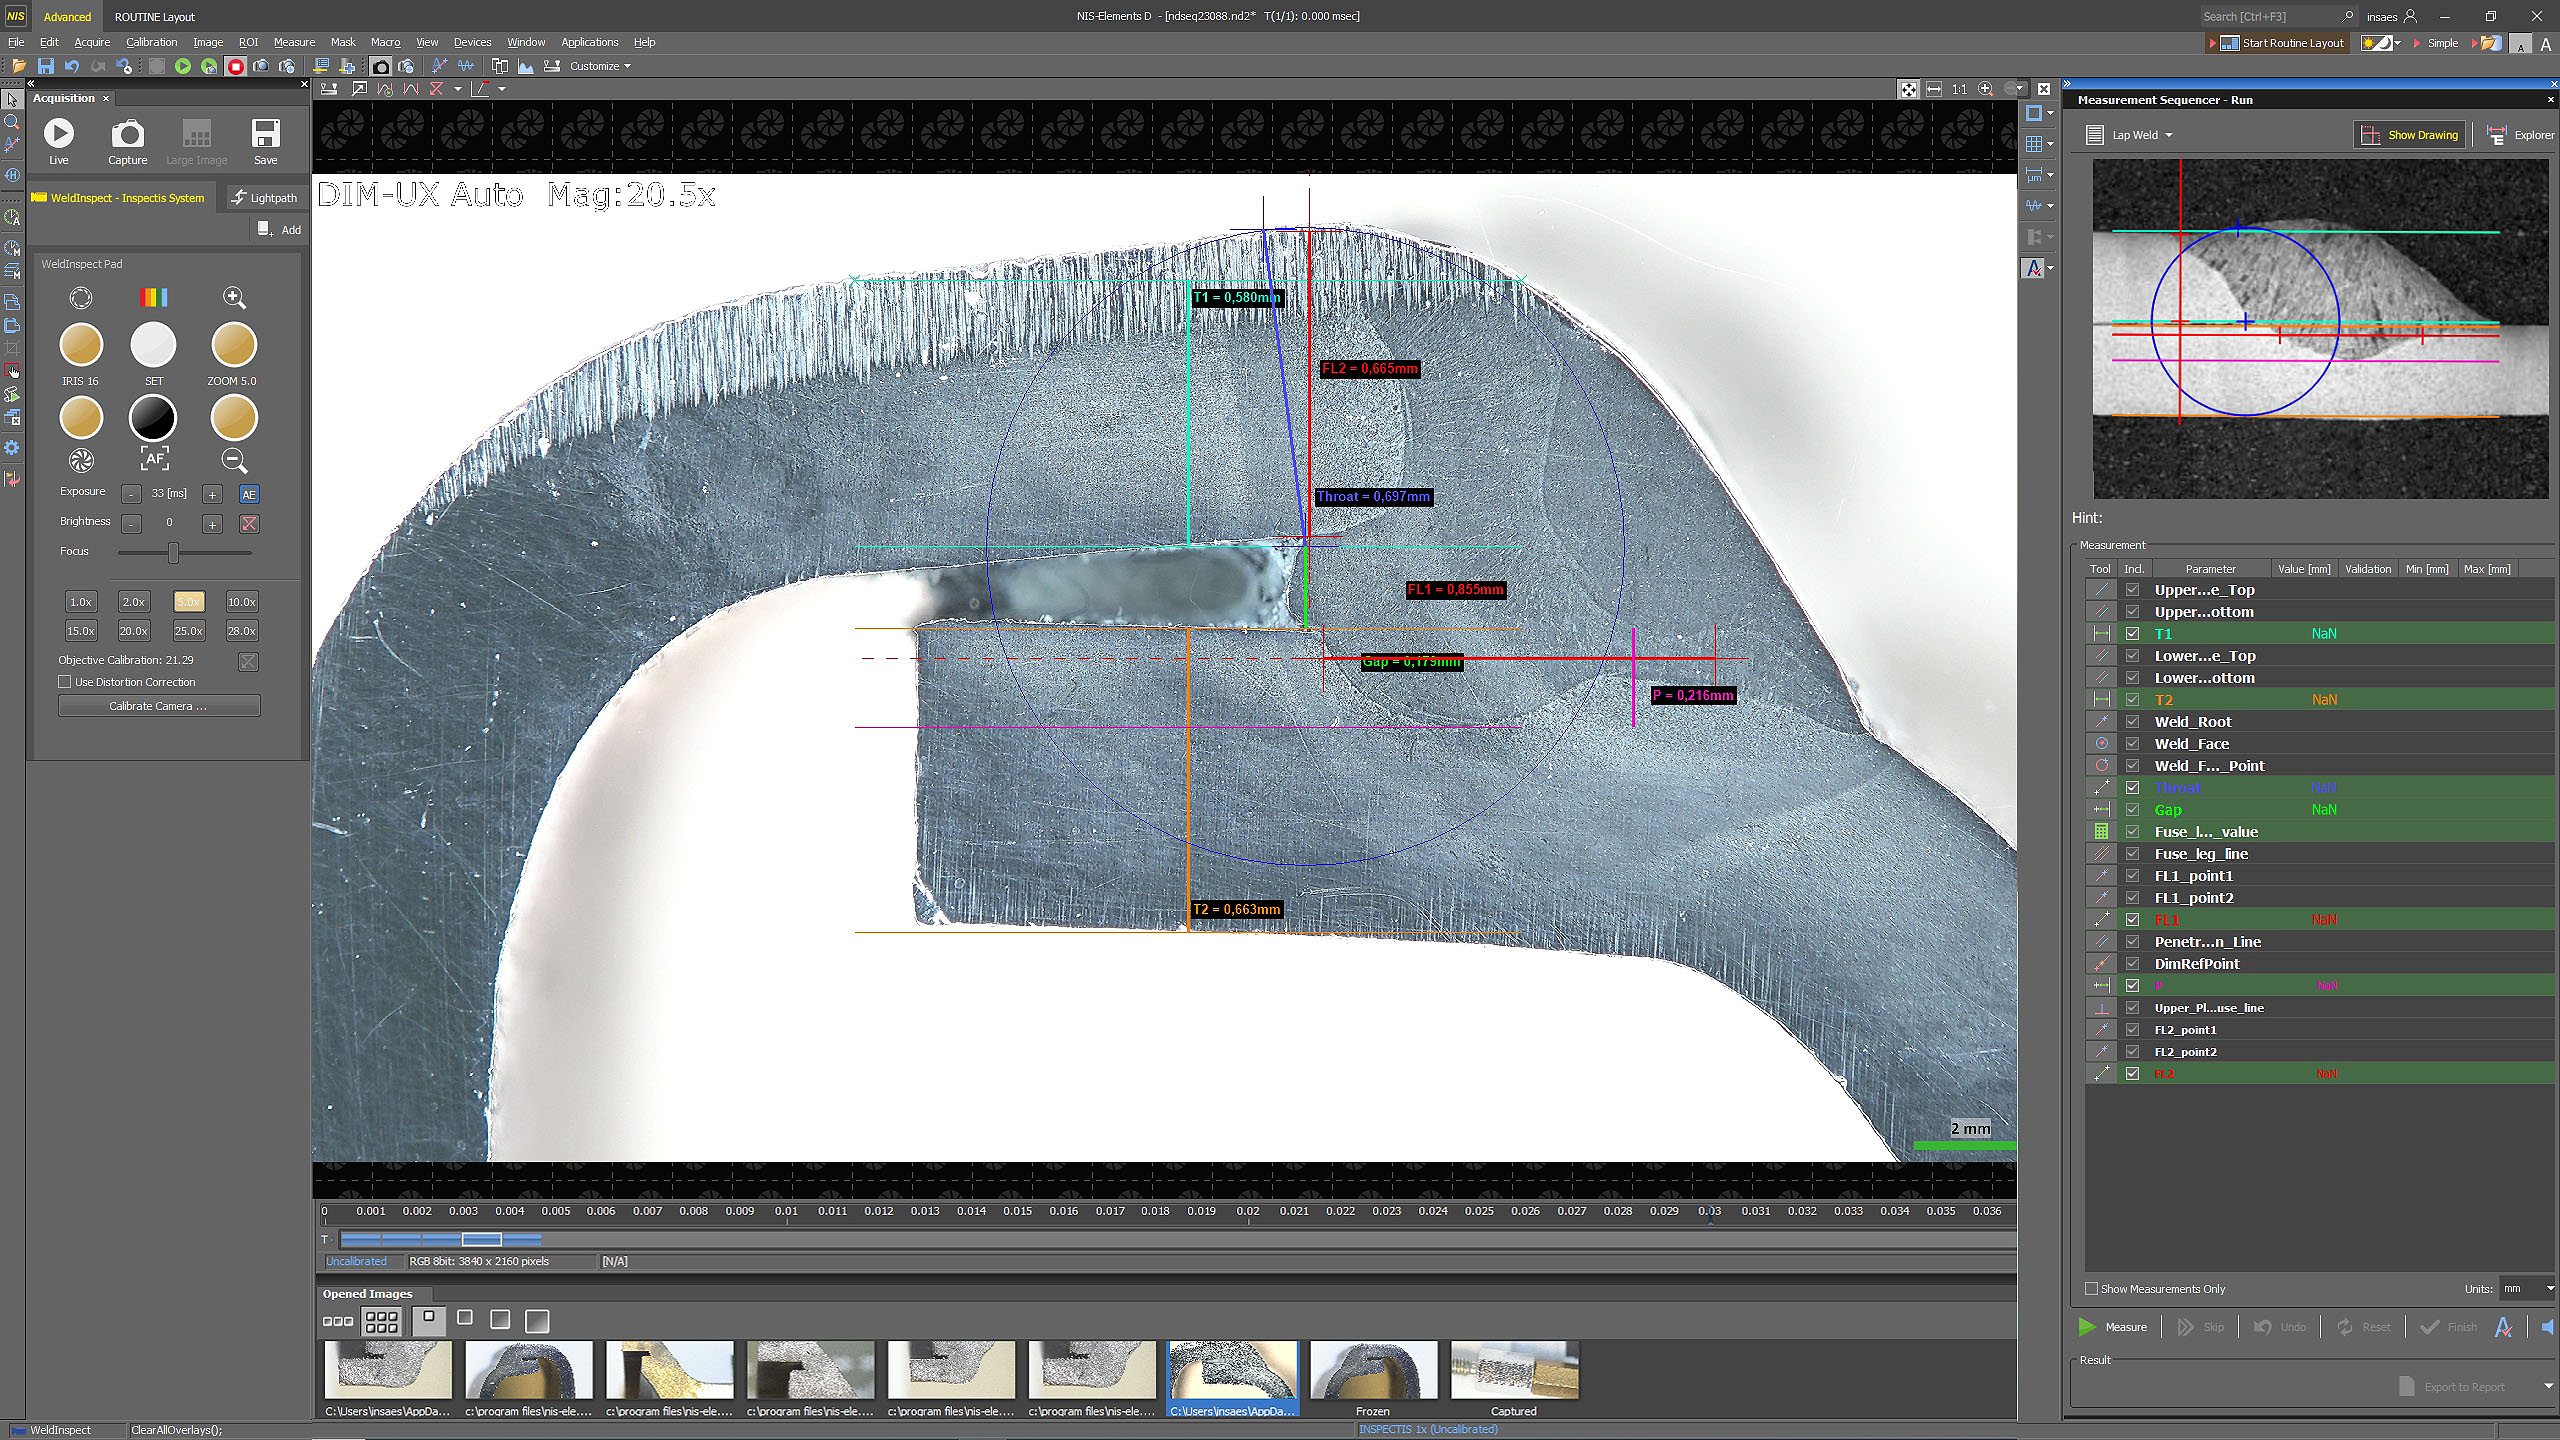
Dedicated Weld Bead Masurement Software

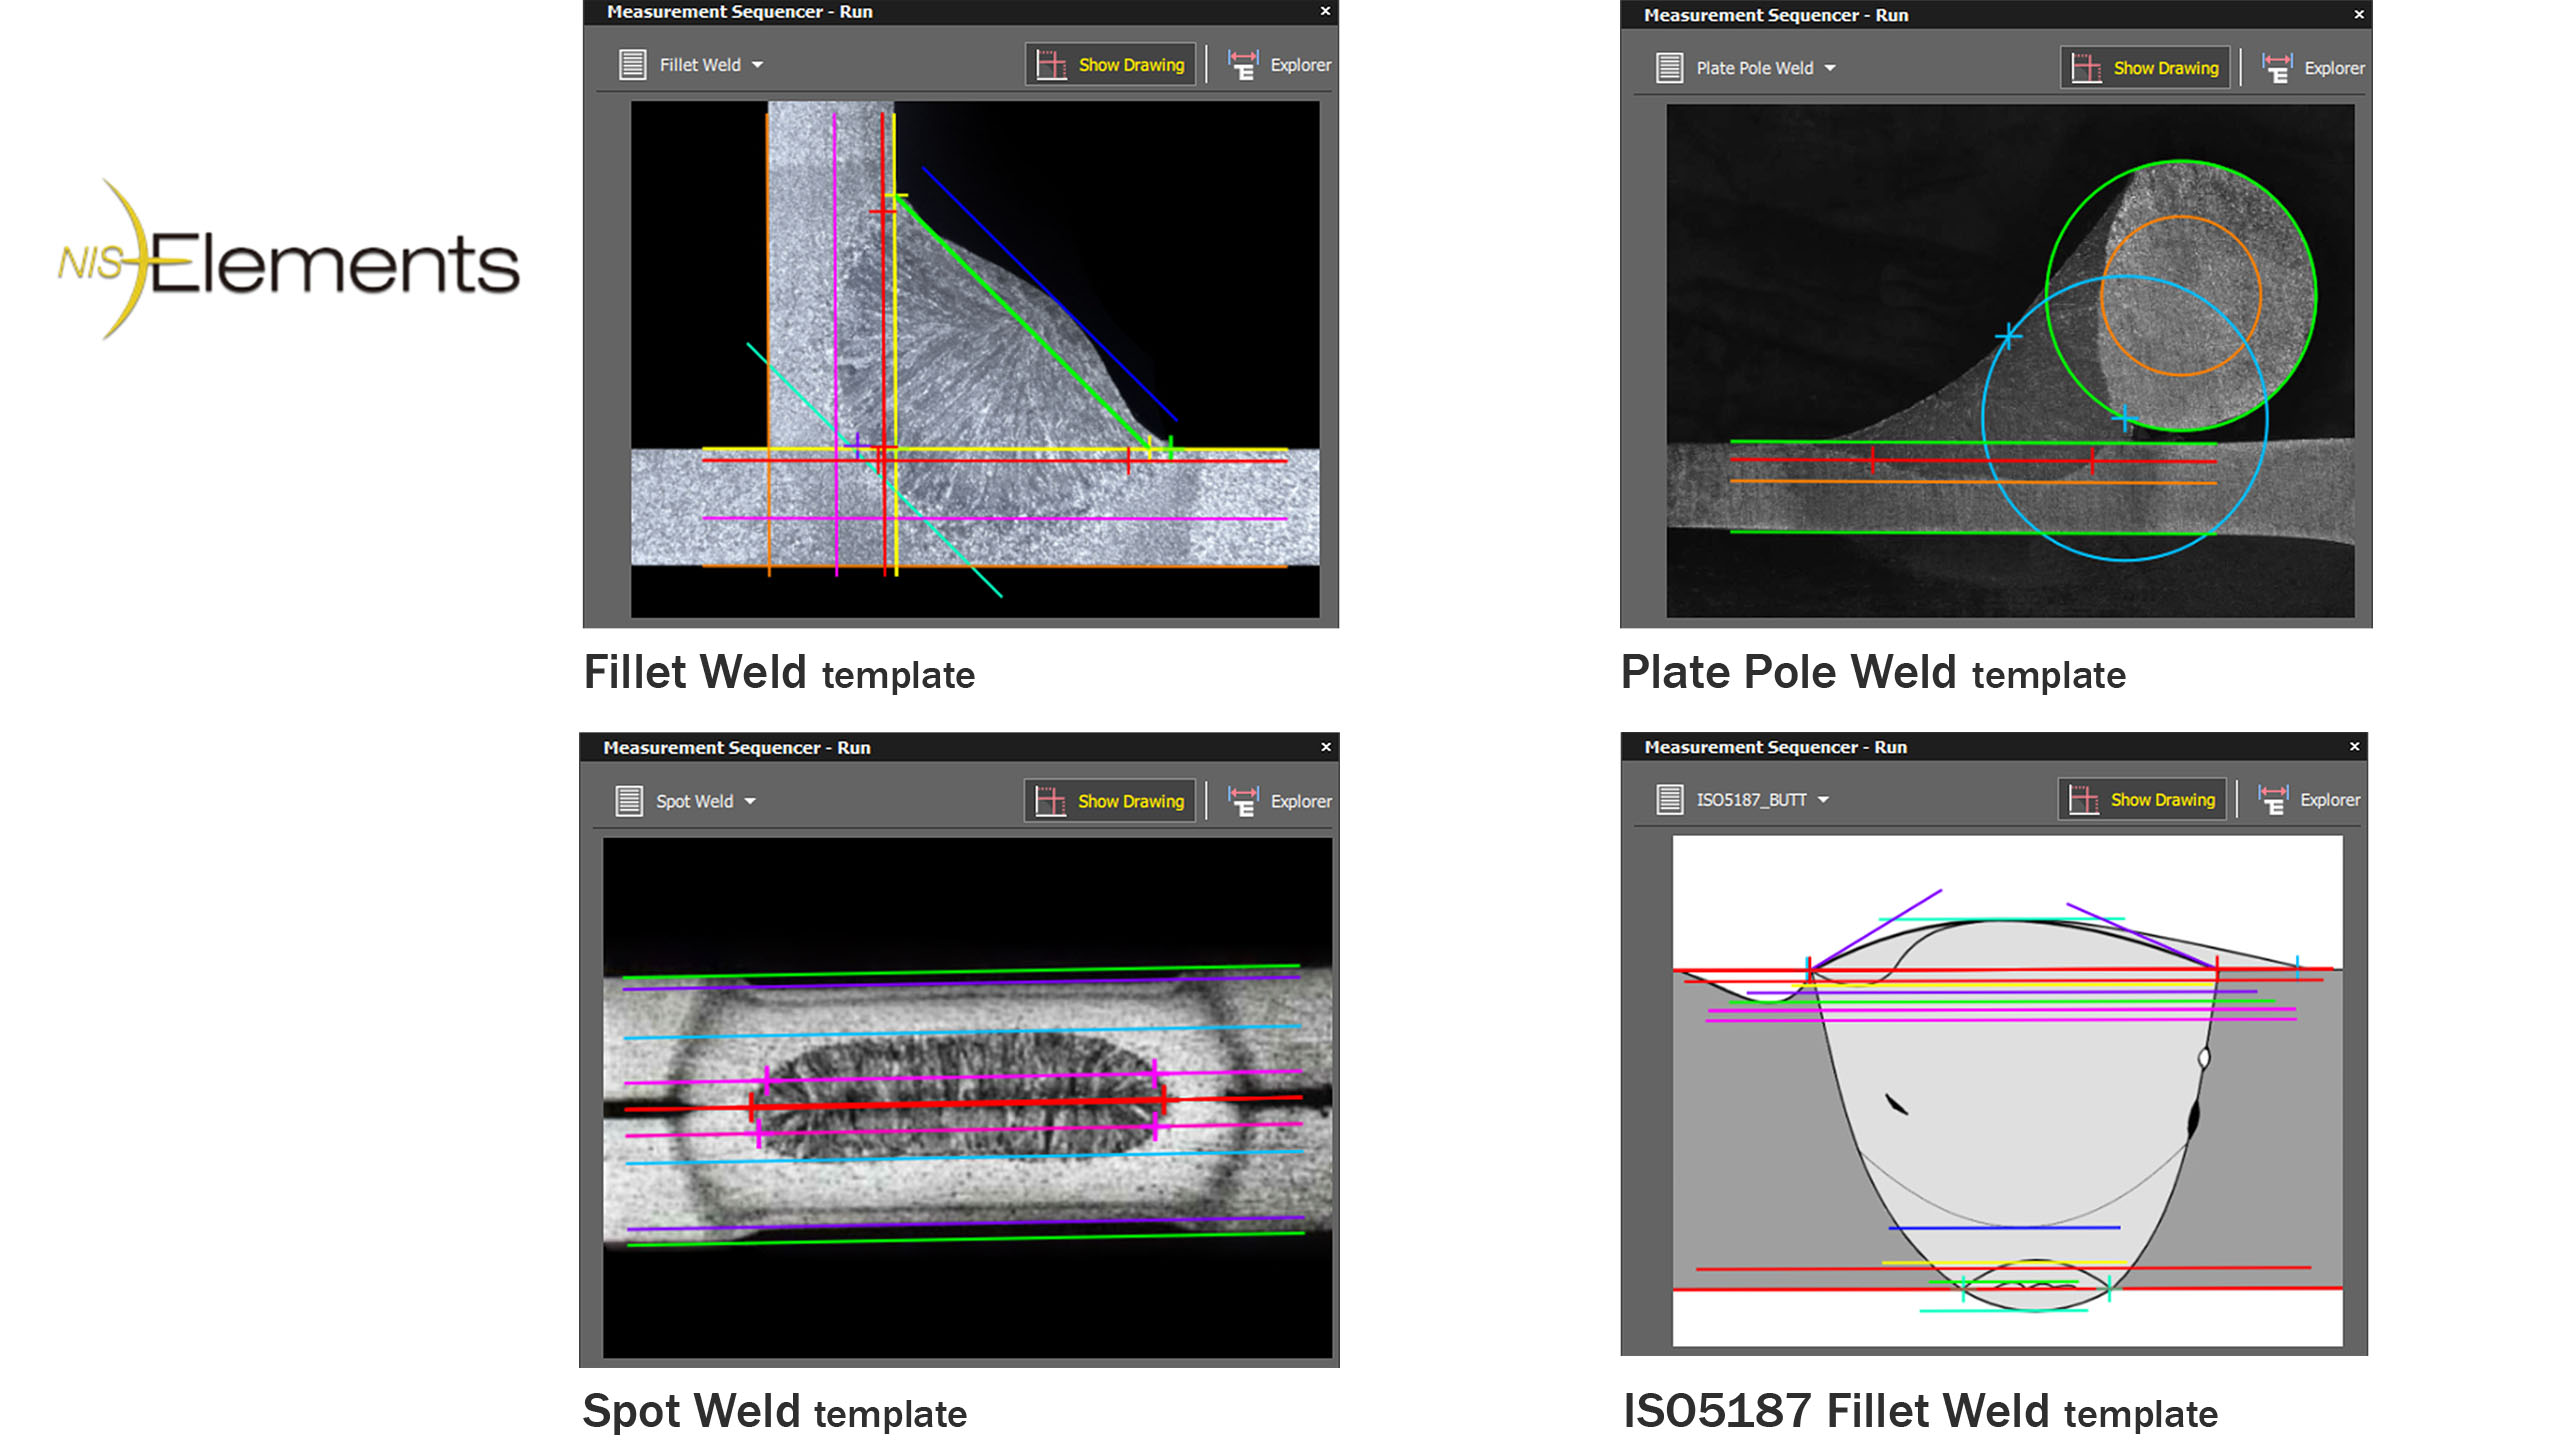
Powerful and customizable Nikon Metrology NIS-Elements software with user-friendly sequential measurements, pre-defined weld templates and
step-by-step instructions.

Fast

Reliable

Easy to Use

Superior Optical Performance

Outstanding 4K image quality, wide zoom range and large Field of View ~ 82 to 3.1 mm (~3.23” to 0.12”), equivalent to ~2.6x to 68x optical magnification or ~7.5 to 196x on screen magnification.

Upgradeable with x35 zoom optics providing ~ 58 to 1.65 mm (~2.28” to 0.063”) FoV, equivalent to ~3.8x to 127x optical magnification or ~10.9 to 370x on screen magnification.

Robust Desgin

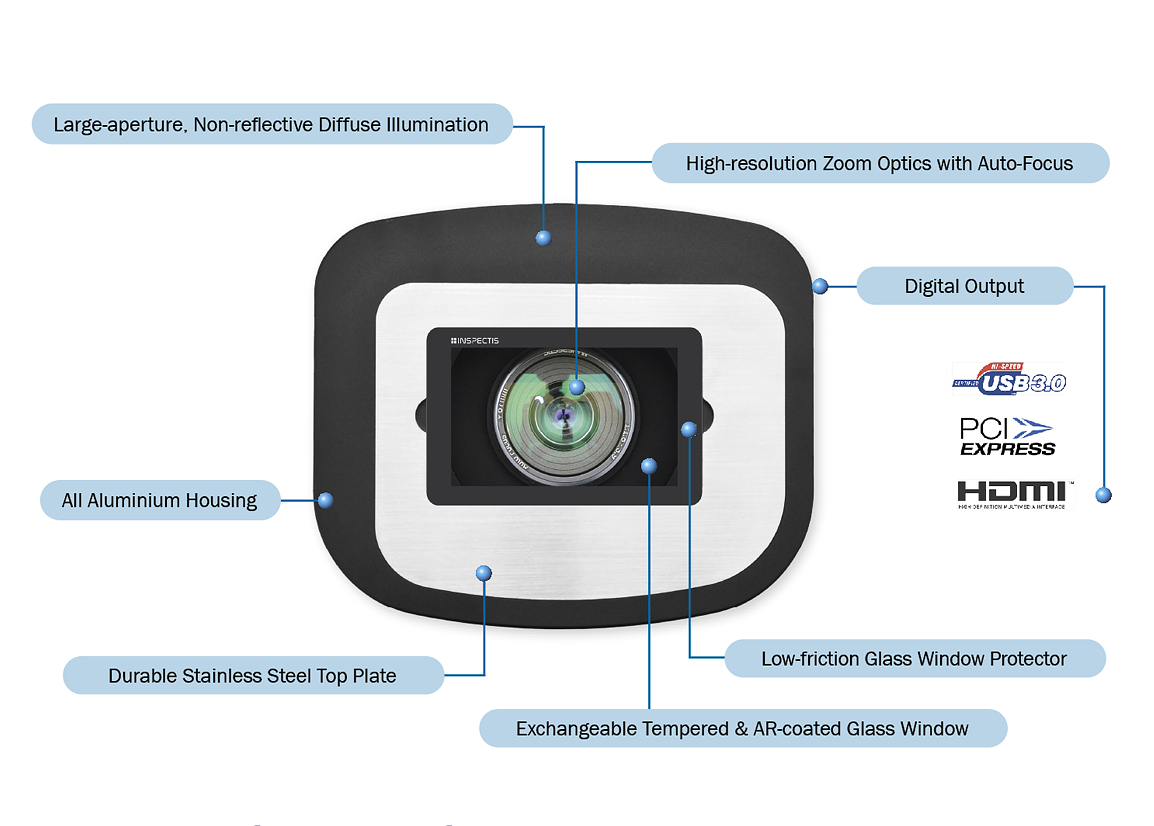
The robust aluminium housing with heavy duty steel base-plate and stainless-steel top-plate creates maximum stability and robustness even in harsh environments.

The tempered glass window is specially manufactured to stand scratches and is coated to minimises glare and back-reflection into the optical system.

A cover is included for protection of the device aginst dust when not in use.

Dedicated Software

Nikon NIS-Elements combines powerful image acquisition, analysis, calibrated sequencial measurements, visualisation and data sharing tools.

Pre-calibrated optics with automatic zoom tracking ensures quick and accurate measurements of welds. Built-in camera and lens controls with 8 quick access zoom buttons makes image adjustment and acquisition simple and intuitive.

Fast and Accurate Sequential Measurements

User-friendly controls combined with pre-defined common weld type templates and streight forwards step-by-step sequential measurements ensure quick and accurate measurements.

User definable measurement sequences according to individual standards and acceptance criteria in addition to the pre-defined templates.

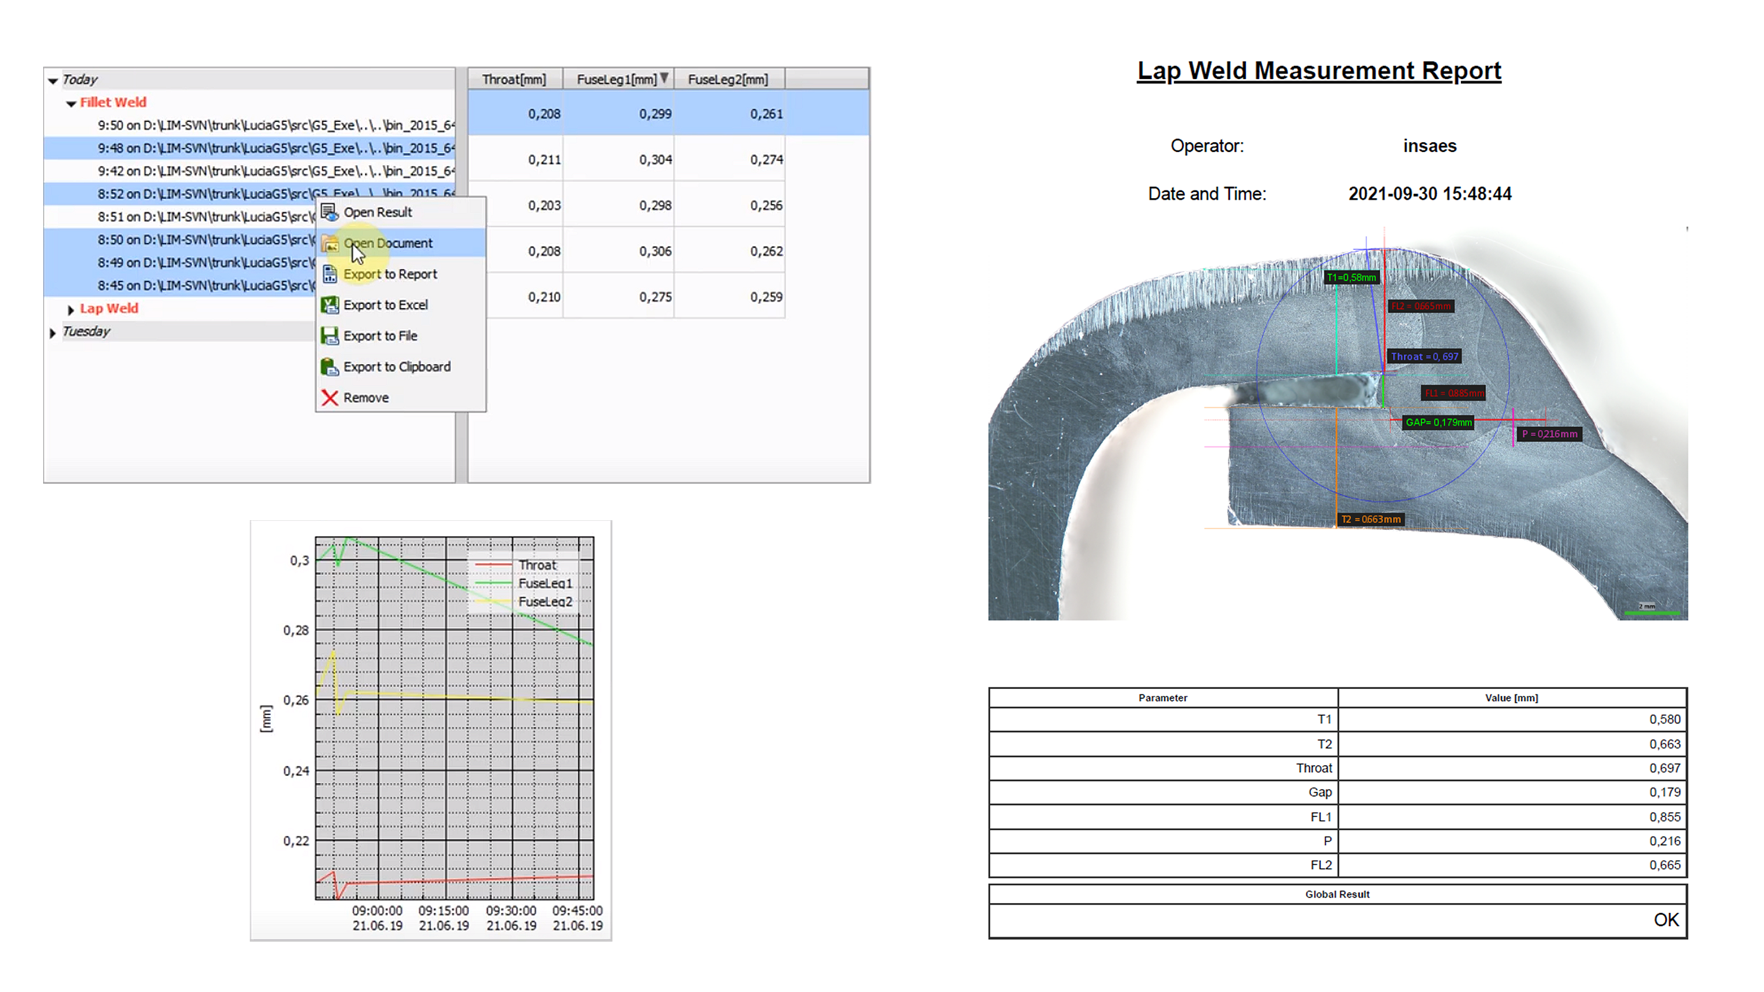
Data Export and Report

Export finished measurements inclusing sample pictures as a group to a Report, Microsoft Excel, Clipboard or a File format. The report can further be saved as PDF.

The measurement definition and the report can be edited and re-designed according to your needs.

Included items when you order HD-250

  • DIM-U, Inspectis Digital Inverted Microscope 8.3MP Ultra HD with 26x Zoom, Auto-focus and large aperture LED RingLight
  • 4K UHD USB3.0 Capture Pro Device (can be switched to PCIe Capture on request)
  • INSPECTIS© Basics Image Capture software
  • Nikon NIS Elements D software bundle  with sequential measurement and weld templates (to be ordered seperately)
  • Inspectis USB communication Cable and HDMI Cable, 1.5m
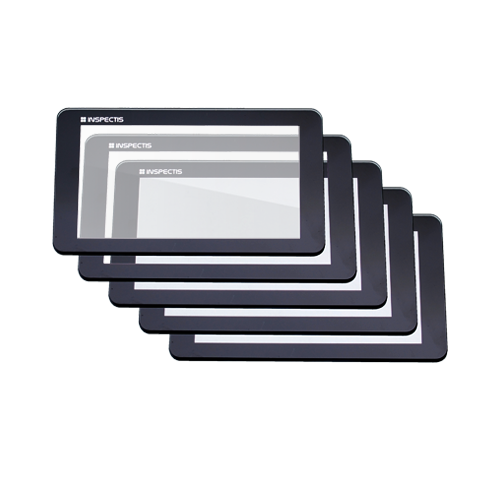
  • Inspectis Hardened glass windows (5 pcs kit)
  • Dust Cover for the instrument
  • Power Supply
  • Annual Service and Support for INSPECTIS software (one year)

Options include:

  • Upgrade INSPECTIS© software from Basics to ProX including USB dongle
  • Upgrade with Crossed Polariser Filter set
  • Upgrade to DIM-UX with 35:1 zoom 365x Magnification Optics
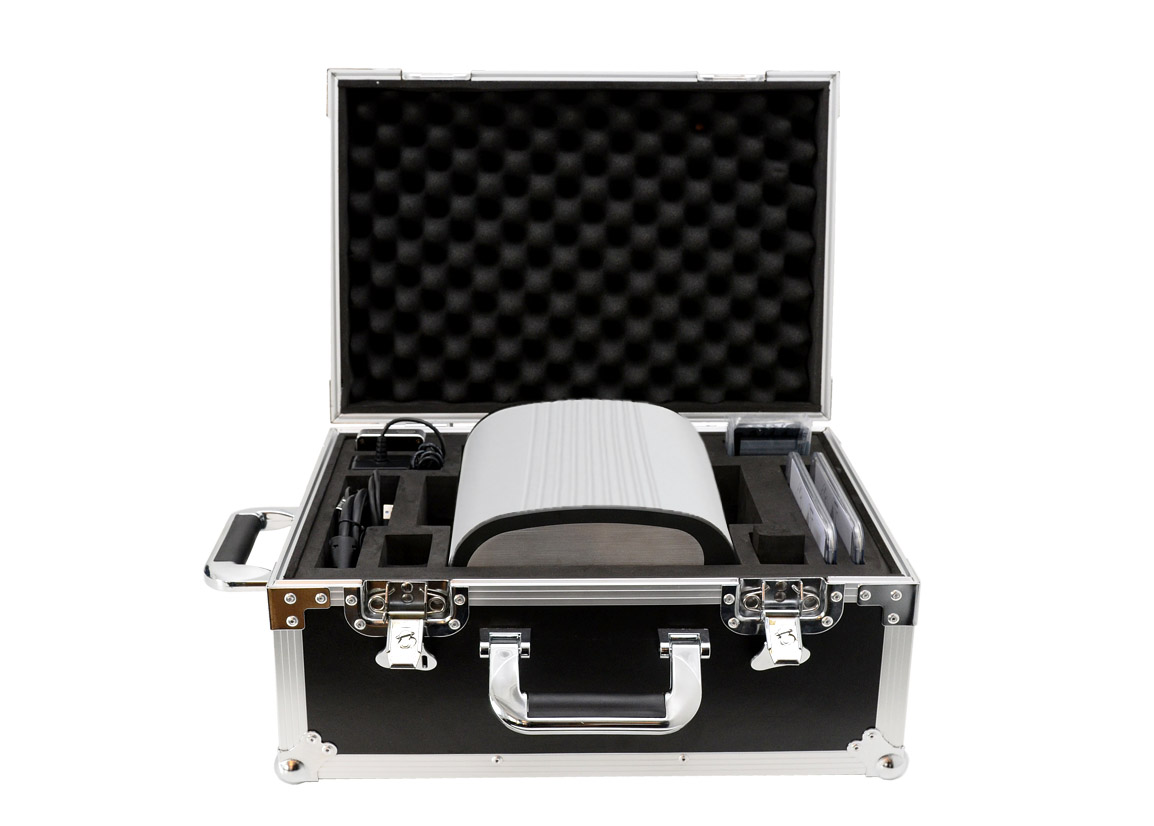
  • Flight Case for WELDinspect and accessories
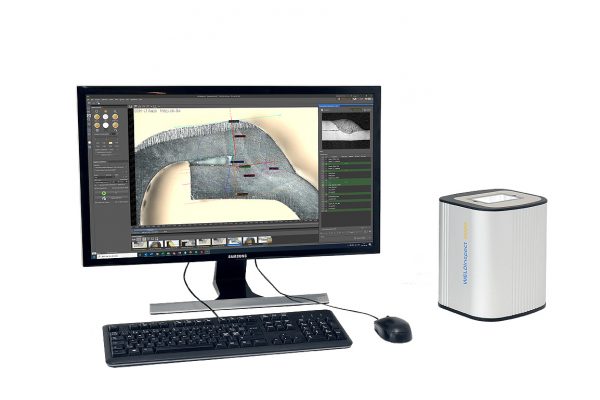
WELDinspect system

Downloads

Brochure-WELDinspect-Inverted-Microscope

Download Brochure

Send download link to:

I have read and agree to the Inspectis privacy policy. *

Download Optical DataDownload Flyer Measurement Sequencer

Product video

Specifications

System

Video Output Ultra HD 2160p/30 fps
Imager 8.5 Mpixels. 3840(H)x2160(V) 16:9 format. Progressive scan CMOS image sensor
Pixel Size (resolution) 1.62 μm x 1.62 μm
Lens Megapixel motorised zoom with auto-focus. Pre-calibreted for geometrical software measurements.
I/O Ports HDMI video output, 5P MiniDin power input, 8P MiniDin PC communication
Camera and Lens controls Zoom, Iris, Manual/Auto Brightness, Manual/Auto Focus, Contrast, Gain, Clarity, White Balance, NIR-mode.
Illumination Built-in large-aperture white LED ring light with diffuser. (Crossed polariser filter set is ordered separately)
Storage / Operating Environment -20° – +60°C, 20 – 95% RH, non-condensing / -5 ° – +40°C, 20 – 95% RH, non-condensing
Size / Weight 200 (W) x 170 (D)x 235 (H) mm / ~ 5.2 kg.

Optional accessories

WELDinspect

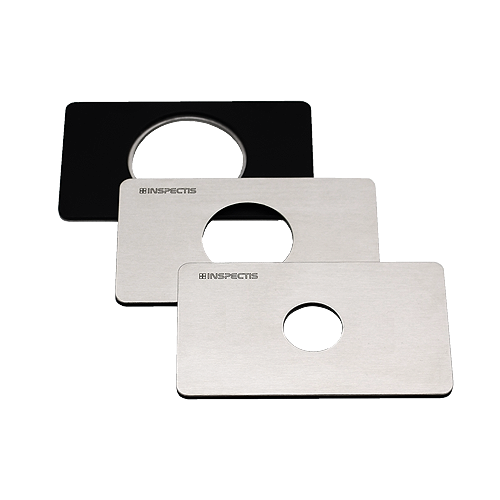
Metallic window plates with circular aperture for DIM (3 pcs kit)

Item no. HD-242

Rigid metallic plates with stainless steel finish and 3 different aperture sizes for optical inspection of prepared samples with Inspectis Digital Inverted Microscopes. Compatible with all type of samples moulded in thermoplastic, epoxy, acrylic, conductive or other type of resins.

Glass window of the Inverted Microscope is simply replaced by any of the aperture window plates depending to size of the sample.

WELDinspect

Hardened glass window

Item no. HD-241

Tempered 110x65x3 mm glass windows for DIM and WELDinspet and other type Inspectis Digital inverted Microscopes. Aperture edge of the windows are black coated for minimising glare and back-reflection of the incident illumination into the optics.

HD-241 contains 5 windows.

WELDinspect glass

Low-friction screen protector for glass window (5 pcs kit)

Item no. HD-245

Tempered 9H glass screen protector with low friction and premium scratch resistance. Deliveres in 5 pack kit.

WELDinspect calibration

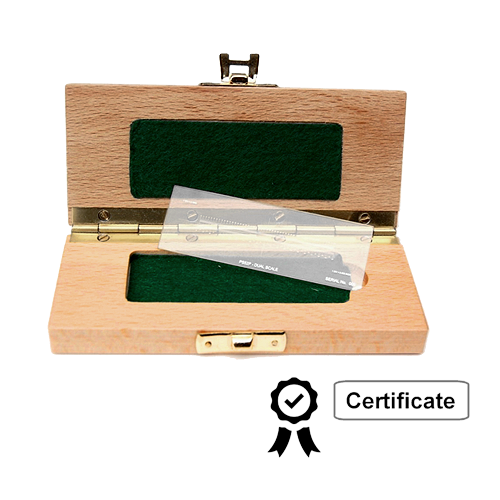
Calibration Scale, 100mm, Div 1.0mm with accredited certificate

Item no. HD-244

High accuracy calibration ruler with 100mm length scale subdivided into 1.0 mm divisions and accredited UKAS certificate.

The scale is produced as a vacuum deposited chrome image on a glass disc, with a cover-glass cemented on top supplied in a polished wooden case. Internationally traceable certificates of calibration are available to satisfy the requirements of ISO.

For high-accuracy custom calibration of the DIM optics in INSPECTIS© and NIS-elements software.

Digital Inverted Macroscope

Light cover for WELDinspect

Item no. HD-249

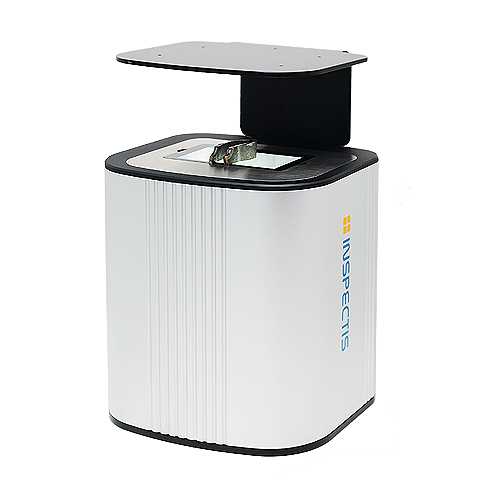
Cover for preventing interference of the ambient light into the optical system. Creates a dark background and enhances contrast of the weld sample image. Vertical position of the cover can be adjusted for achieving best result.

Made of light and durable black coated aluminium.

More accessories:

Extra items are availble for WELDinspect digital inverted microscopes.